How to Prepare Home Interior Walls Before Paint — A Complete Guide
Wall preparation is the step that separates a paint job that lasts from one that starts failing within a year. The Painting Pro Guys has prepared and painted interior walls in thousands of homes across Austin, Dallas, Houston, Phoenix, Denver, Nashville, Charlotte, and Atlanta since 2007. The most common reason a new paint job looks poor or peels early is not the paint — it is inadequate surface preparation. This guide covers everything you need to do to your walls before a brushstroke of fresh paint goes on.
Proper preparation is essential whenever you want to paint a particular surface. Regardless of the age of the surface, whether new or old, there are often numerous marks on the wall like scrapes, grazes, nail holes and much more. These noticeable marks become extremely hard to remove especially after the application of paint. It is, however, simple to fill holes such as those brought about by nails. Simply take a knife and smoothen fillers over the scrape or hole. Larger holes like those seen on plasterboards, however, dealt with in two different ways.
Why Preparation Comes First
Paint does not hide surface defects — it highlights them. A nail hole, scrape, or raised old paint edge that is barely visible on an unpainted wall becomes clearly apparent once fresh paint is applied, because the light catches the surface variation at an angle. Every mark you do not address before painting becomes a permanent feature of the finished wall. Preparation takes more time than the painting itself, and it is where the quality of the finished result is actually determined.
What You Need Before You Start
Materials Checklist — Interior Wall Preparation
Step-by-Step Wall Preparation Process
Fill All Holes, Scrapes, and Damage
It is simple to fill holes such as those brought about by nails. Simply take a knife and smoothen fillers over the scrape or hole. Larger holes like those seen on plasterboards, however, dealt with in two different ways.
Using a primer on bare wood before you start painting. To begin with, an expanding form filler, which is the best option. The other choice is to cut a small piece of wood that correctly fits the size, and stick it using glue. Even as you do this, always remember to leave a small allowance from the wall's surface. After it is in place, use an appropriate filler to any existing gaps.
Allow all filler to dry completely before sanding — this is non-negotiable. Wet or partially dry filler will smear rather than sand flat and may shrink further as it cures, leaving a depression rather than a flush surface. For deep holes, apply filler in two layers: a first layer to build up the bulk of the repair, and a skim coat once the first is fully dry to level it flush with the surrounding wall.
Check for Mold, Moisture, and Water Damage
The older cover, on the other hand, you have the option of using old paint for an undercoat. Carefully examine each corner of the house especially the bathrooms and kitchen for any signs of molds. Treat this condition with the right anti-mold procedure.
In addition to this, remember to countercheck the same areas for any water or steam collected on them and wipe it off. By so doing, you would be taking the right measures towards ensuring that your paint does not flake.
Never paint over mold — not even with anti-mold paint. The mold must be treated and killed at the surface level before any paint is applied. A diluted bleach solution (1 part bleach to 4 parts water) or a purpose-made anti-mold treatment applied to the affected area, allowed to work for the recommended contact time, and then wiped clean is the correct procedure. If the mold extends behind the surface into the wall material, the underlying cause — typically a moisture intrusion from a leak or condensation buildup — must be resolved before the wall is repainted, or the mold will return regardless of the paint used.
Remove Wallpaper if Applicable
Mix methylated spirit and warm water in the ratio of one to eight to remove wallpapers. Paint it then allows it to soak for half an hour before scraping clean.
Work in manageable sections rather than soaking the entire wall at once. Oversaturation can cause the drywall paper beneath the wallpaper to soften and tear, requiring drywall repair before painting. After removing the wallpaper, wash the wall surface with sugar soap to remove all remaining adhesive residue — adhesive left on the wall will prevent fresh paint from bonding properly and cause it to bubble and lift. Once cleaned, allow the wall to dry fully, then skim coat or sand any rough areas before priming. Bare drywall exposed during wallpaper removal must be primed before painting.
Test for and Remove Flaking Old Paint
Consider old paint to be your number one enemy. If the already existing color is in a poor state, ensure that you remove it completely before applying fresh paint. Scrape any old paint with a scraper until you attain maximum satisfaction. For you to make sure that your new paint does not flake because of not binding itself to the wall, ensure you keep the wall clean of any old chipped paint.
For one that is not sure whether the old paint is flaking or not, a simple test can help you come to the right conclusion. Using a knife, cut through the paint and stick tape over it. Pull off the tape in a gentle manner and observe the results. If the paints peel off with the sticker, this is an indication of flaking, therefore, the need to remove it.
Perform the tape test in several locations around the room — paint adherence can vary significantly between different walls and sections of the same wall depending on past moisture exposure, prior paint quality, and original surface preparation. A wall that passes the test in one area may fail in another. Any section that fails must be scraped clean of all loose paint before priming. Fresh paint applied over flaking old paint will itself begin to flake within weeks — the new paint is only as secure as what it is bonded to.
Sand All Surfaces Smooth and Dust Clean
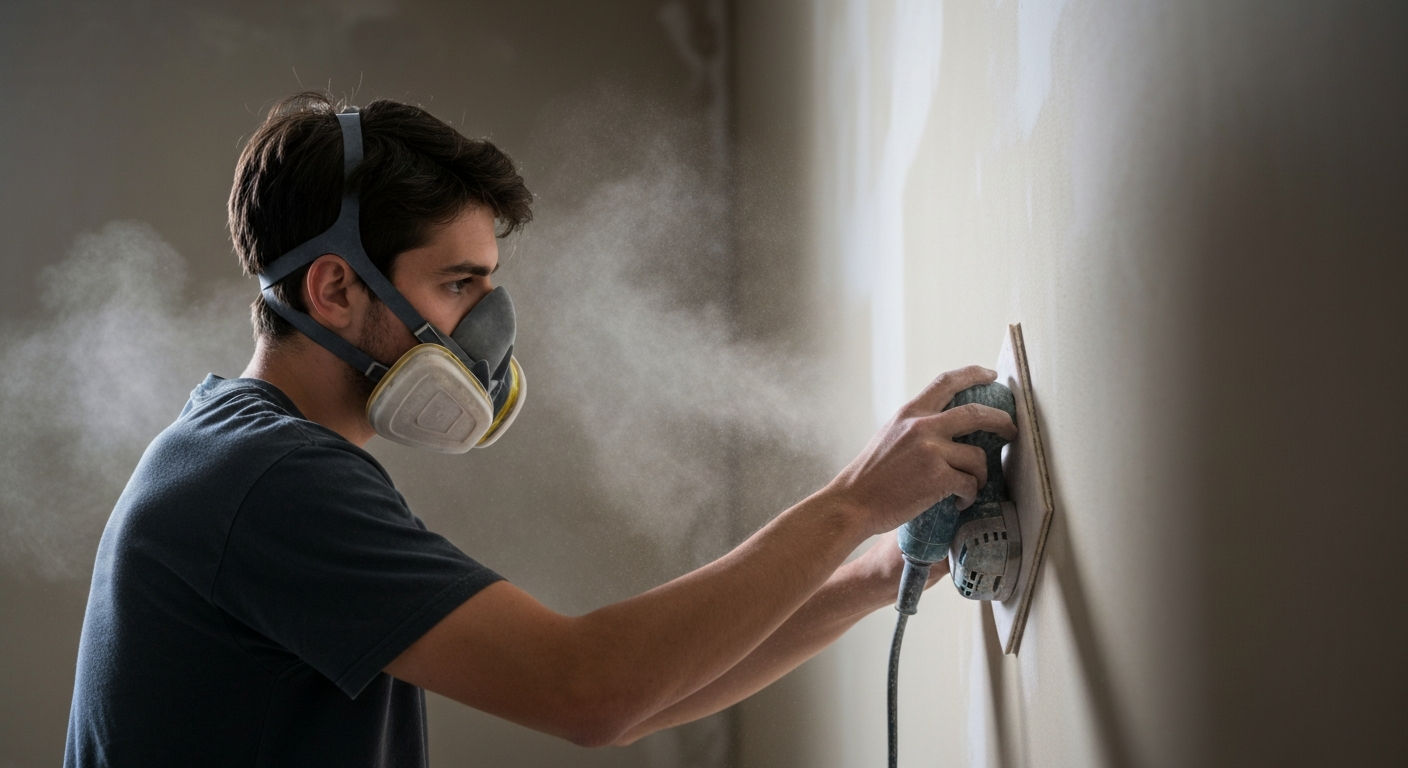
First, make the surface smooth by sanding. There is the urgent need to ensure that all surfaces are flat including previously filled holes and old paint edges. With a flat surface all through, there is little chance of ending up with ridges at the end of your painting job. Finish this step by dusting off the surface.
Use a medium sandpaper to smoothen the walls after you have eliminated all chipped paint from the edges of the walls. Some surfaces, however, require thorough scrapping the entire wall. Regardless of the type of scrapper you use, whether electric or blade and paint remover, ensure you first read and understand the instructions set before you begin. Sand then dust clean and wash off the whole area with sugar water.
Sand with a consistent, light circular motion rather than pressing hard in one direction. Aggressive sanding in one direction leaves scratches that will be visible under fresh paint, particularly in glossy finishes. After sanding, wipe all surfaces with a damp cloth before the sugar soap wash to remove the bulk of the dust — sanding dust left on the wall reduces paint adhesion. Pay particular attention to the junction between filled areas and the surrounding wall, as this is where visible ridges and edges are most likely to remain.
Clean With Sugar Soap and Dry Fully
Clean surfaces with sugar soap and enable them to dry.
Sugar soap is an alkaline cleaning product that removes grease, grime, residue, tobacco staining, and any remaining sanding dust in one pass. It is the professional standard pre-painting clean for a reason: grease and residue that are invisible to the naked eye create patches of poor adhesion in the finished paint job. Mix sugar soap according to the package instructions — typically a few tablespoons per bucket of warm water — and work from top to bottom. Rinse with clean water after cleaning and allow the surface to dry completely before priming. Painting over a damp wall is as damaging as painting over a dirty one.
Mask Windows, Doors, and Fittings
Prepare to paint by covering your windows with strips of masking tape. It is an appropriate measure to take to avoid spreading paint to windowpanes and comfortably brush edges of the window. Apply the same technique on doors with brass fillings and handles for a less frustrating paint job.
Take time to mask thoroughly — even experienced painters find that a well-masked room produces a faster and cleaner finished job than trying to cut in perfectly to every edge. Run masking tape along the glass edge on window frames, and use additional tape or plastic sheeting to protect glass from roller spray. Mask all hardware, light switches, socket plates, and any other fixed elements before picking up a brush. Remove masking tape while the paint is still slightly wet — dried paint can tear along the tape edge and leave a ragged line rather than a clean edge.
Wall Preparation at a Glance — Stage by Stage
| Stage | What You Do | Why It Matters |
|---|---|---|
| Fill holes and scrapes | Knife and filler; expanding foam or wood block for large holes | Unfilled defects become visible under fresh paint |
| Treat mold | Anti-mold treatment on all affected areas — never paint over active mold | Paint does not kill mold — it will return through any new paint |
| Remove moisture | Wipe water and steam accumulation; resolve source if applicable | Moisture behind paint causes flaking and adhesion failure |
| Remove wallpaper | 1:8 methylated spirit/water mix, soak 30 minutes, scrape clean | Painting over wallpaper can cause bubbling and seam visibility |
| Test and remove old paint | Tape test; scrape all flaking paint; strip heavily compromised areas | New paint only adheres as well as what it is bonded to |
| Sand all surfaces | Medium sandpaper on all filled areas, paint edges, and rough patches | Ridges and bumps left unsanded are visible in the finished surface |
| Clean with sugar soap | Alkaline wash, rinse, allow to dry fully | Grease and residue prevent paint from bonding properly |
| Prime where needed | Bare wood, new plaster, stripped areas, and heavy repairs | Primer ensures even absorption and maximum adhesion |
| Mask all fittings | Low-tack tape on glass, hardware, light switches, handles | Protects non-painted surfaces and allows clean edge work |
Final Pre-Paint Checklist — Before You Open the Can
- All holes and scrapes filled, dried, and sanded flush
- All mold treated and confirmed eliminated
- No moisture accumulation on any surface
- Tape test passed or all flaking paint removed
- All surfaces sanded flat — run straightedge or raking light to verify
- Sugar soap clean applied and fully dried
- Primer applied to all bare wood, new plaster, and stripped areas
- All windows, hardware, and fittings masked with low-tack tape
- Drop cloths on all floors and furniture
The Pro Guys Take
The quality of any interior paint job is largely set before the paint opens. Experienced painters spend more time preparing surfaces than they spend painting them — because they know that the preparation determines how good the finished result looks and how long it lasts. A paint job on a properly prepared surface will look better on day one and still look good years later. The same paint applied over inadequate preparation will show every shortcut within months. The Painting Pro Guys follows a thorough preparation protocol on every interior project we complete across 50+ US cities — Austin, Dallas, Houston, Phoenix, Denver, Nashville, Charlotte, Atlanta, and more. Free in-home estimates and flat-rate pricing on every project since 2007.
Prefer to Have It Done Right the First Time?
The Painting Pro Guys handles all surface preparation as part of every interior painting project — filling, sanding, cleaning, priming, and masking before a single brushstroke of color. Free in-home estimate across 50+ US cities.